Android悬浮窗口的开发
1. 悬浮窗口的实现
使用悬浮窗口之前,要向用户申请权限
//在清单文件中定义权限
<uses-permission android:name="android.permission.SYSTEM_ALERT_WINDOW"/>
目标版本安卓6.0以上,还要在运行时申请权限
//在运行时申请权限
if (!Settings.canDrawOverlays(this)){
    Intent floatPermission = new Intent(
        Settings.ACTION_MANAGE_OVERLAY_PERMISSION, //不同于一般的权限,悬浮窗口权限是在独立的界面请求的
        Uri.parse("package:" + getPackageName())); //带上自己的包名,打开自己软件的权限设置界面
    startActivityForResult(floatPermission,REQ_FLOAT_PERMISSION); //打开设置界面
}
悬浮窗口的实现原理是利用WindowManager直接向屏幕添加视图
//获取WindowManager
WindowManager wm = (WindowManager) context.getSystemService(Context.WINDOW_SERVICE);
//适应安卓API的变化
int DEFAULT_WINDOW_TYPE;
if (Build.VERSION.SDK_INT >= Build.VERSION_CODES.O) {
    DEFAULT_WINDOW_TYPE = WindowManager.LayoutParams.TYPE_APPLICATION_OVERLAY; //最新安卓版本将应用的悬浮窗口独立出来了,使用专用的窗口类型
}else{
    DEFAULT_WINDOW_TYPE = WindowManager.LayoutParams.TYPE_PHONE; //早期安卓版本,悬浮窗口使用PHONE窗口类型
}
//定义视图属性
lp = new WindowManager.LayoutParams();
lp.flags = WindowManager.LayoutParams.FLAG_NOT_TOUCH_MODAL //悬浮窗口不会占满屏幕,所以设置为视图外部不拦截点击事件
        |WindowManager.LayoutParams.FLAG_LAYOUT_IN_SCREEN //限制窗口显示在屏幕之类,按需设置
        |WindowManager.LayoutParams.FLAG_NOT_FOCUSABLE; //禁止悬浮窗口获取输入焦点,否则返回键之类的按键事件在别的应用程序中会失效,而且别的应用也不能输入文字
lp.format = PixelFormat.RGBA_8888; //设置颜色格式,支持透明
lp.gravity = Gravity.LEFT|Gravity.TOP; //重力左上角,方便调整位置和大小
lp.width = 320; //窗口宽320个像素
lp.height = 320; //窗口高320个像素
lp.x = 0; //距离屏幕左边0像素
lp.y = 0; //距离屏幕上方0像素
//这里的view可以是任意View类对象
//将视图属性赋给视图对象,并添加到屏幕上去
wm.addView(view, lp);
//使用结束,将视图从屏幕上移除
wm.removeView(view);
这里为了适应新版安卓,早期安卓使用TYPE_PHONE作为窗口类型,较新的安卓使用TYPE_APPLICATION_OVERLAY作为窗口类型
2. 用户交互事件监听
像正常的视图对象一样,调用setOnClickListener之类的方法即可实现点击事件的监听
如果要监听窗口拖动的事件,最好在界面上布置一个透明Button,在其上面监听touch事件。实测的时候,直接在LinearLayout或TextView对象上面监听touch事件,只能收到touch_down回调,touch_move和touch_up事件都收不到。
3. 封装及使用
先来看看封装过后绘制出来的悬浮窗口长啥样:3
显示悬浮窗口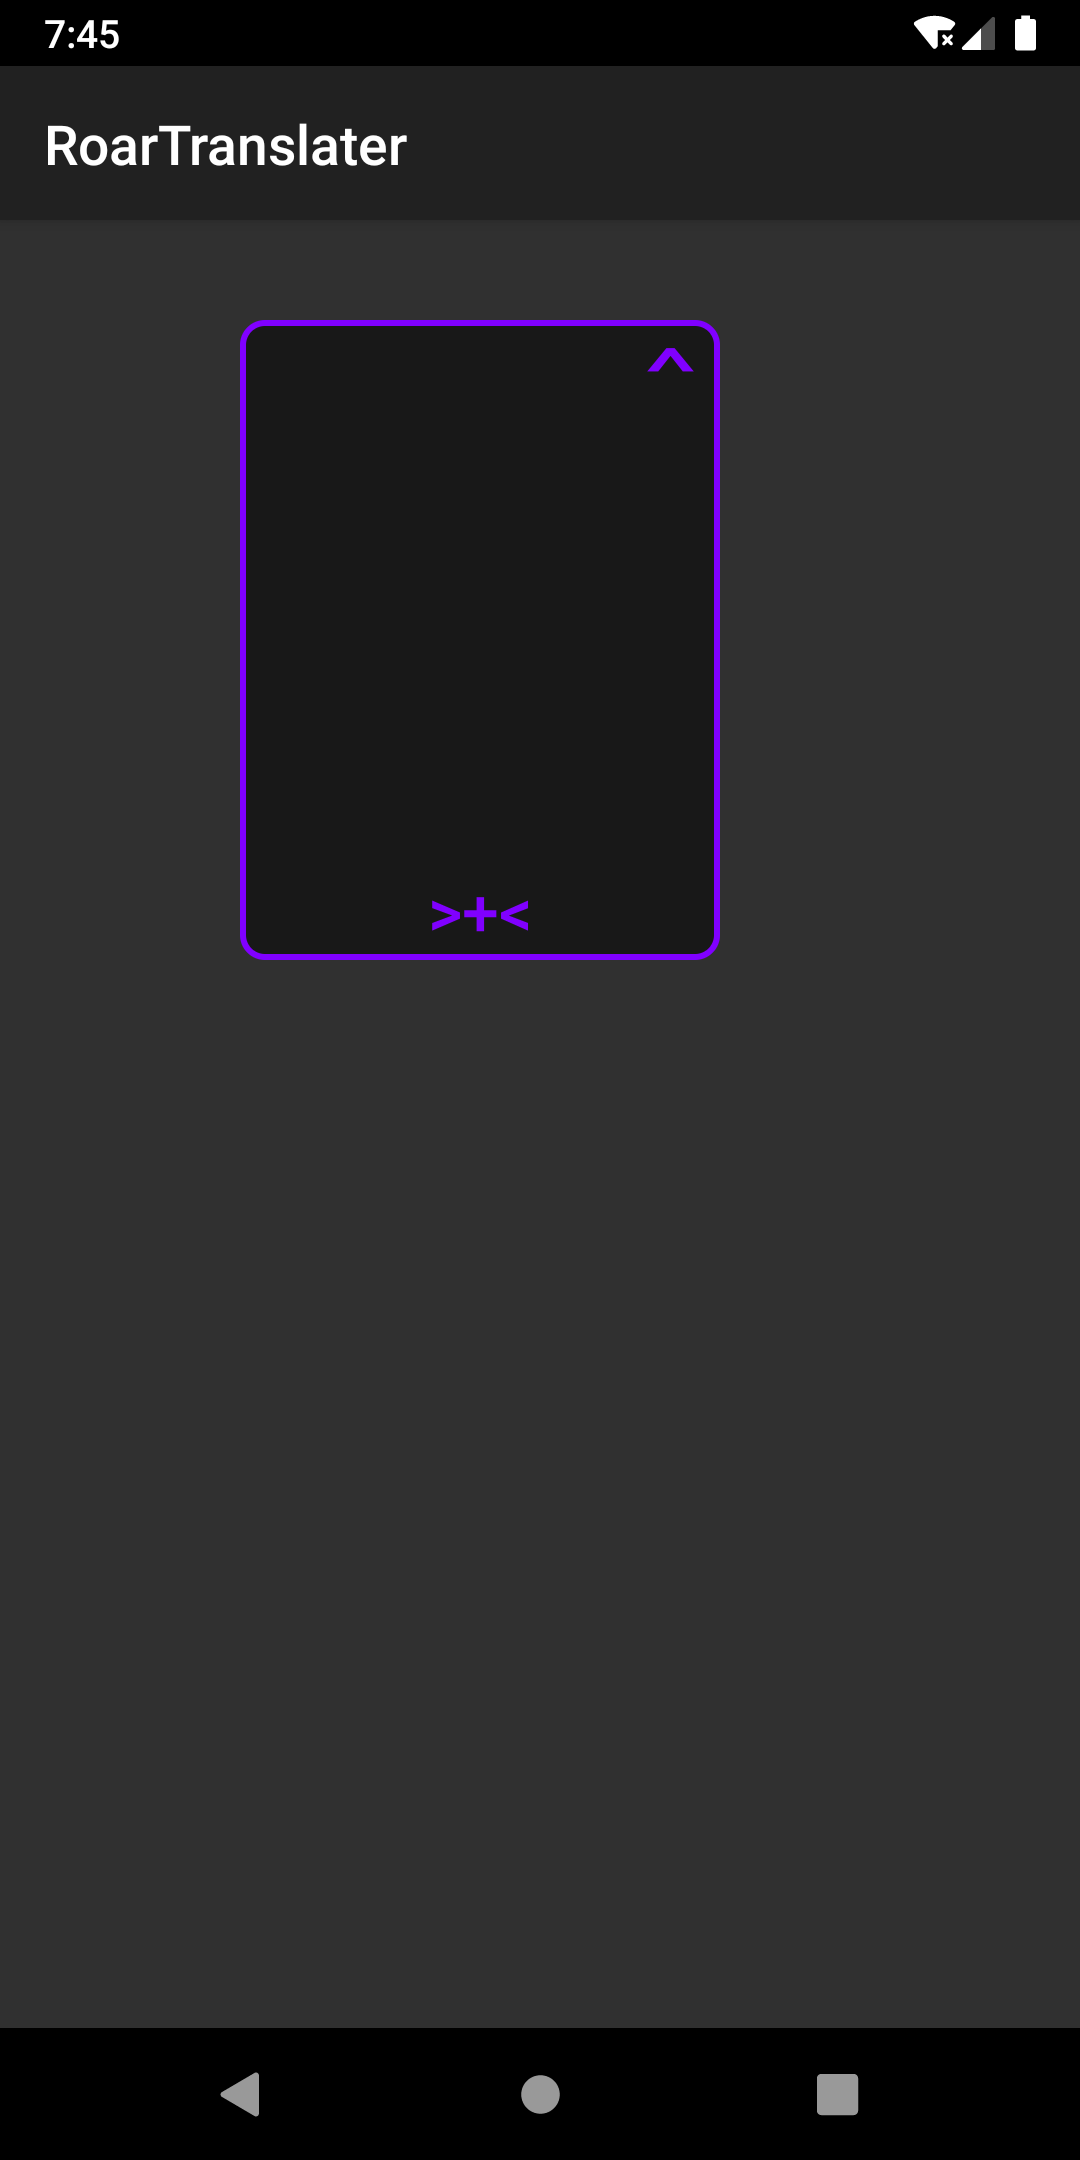
调整大小事件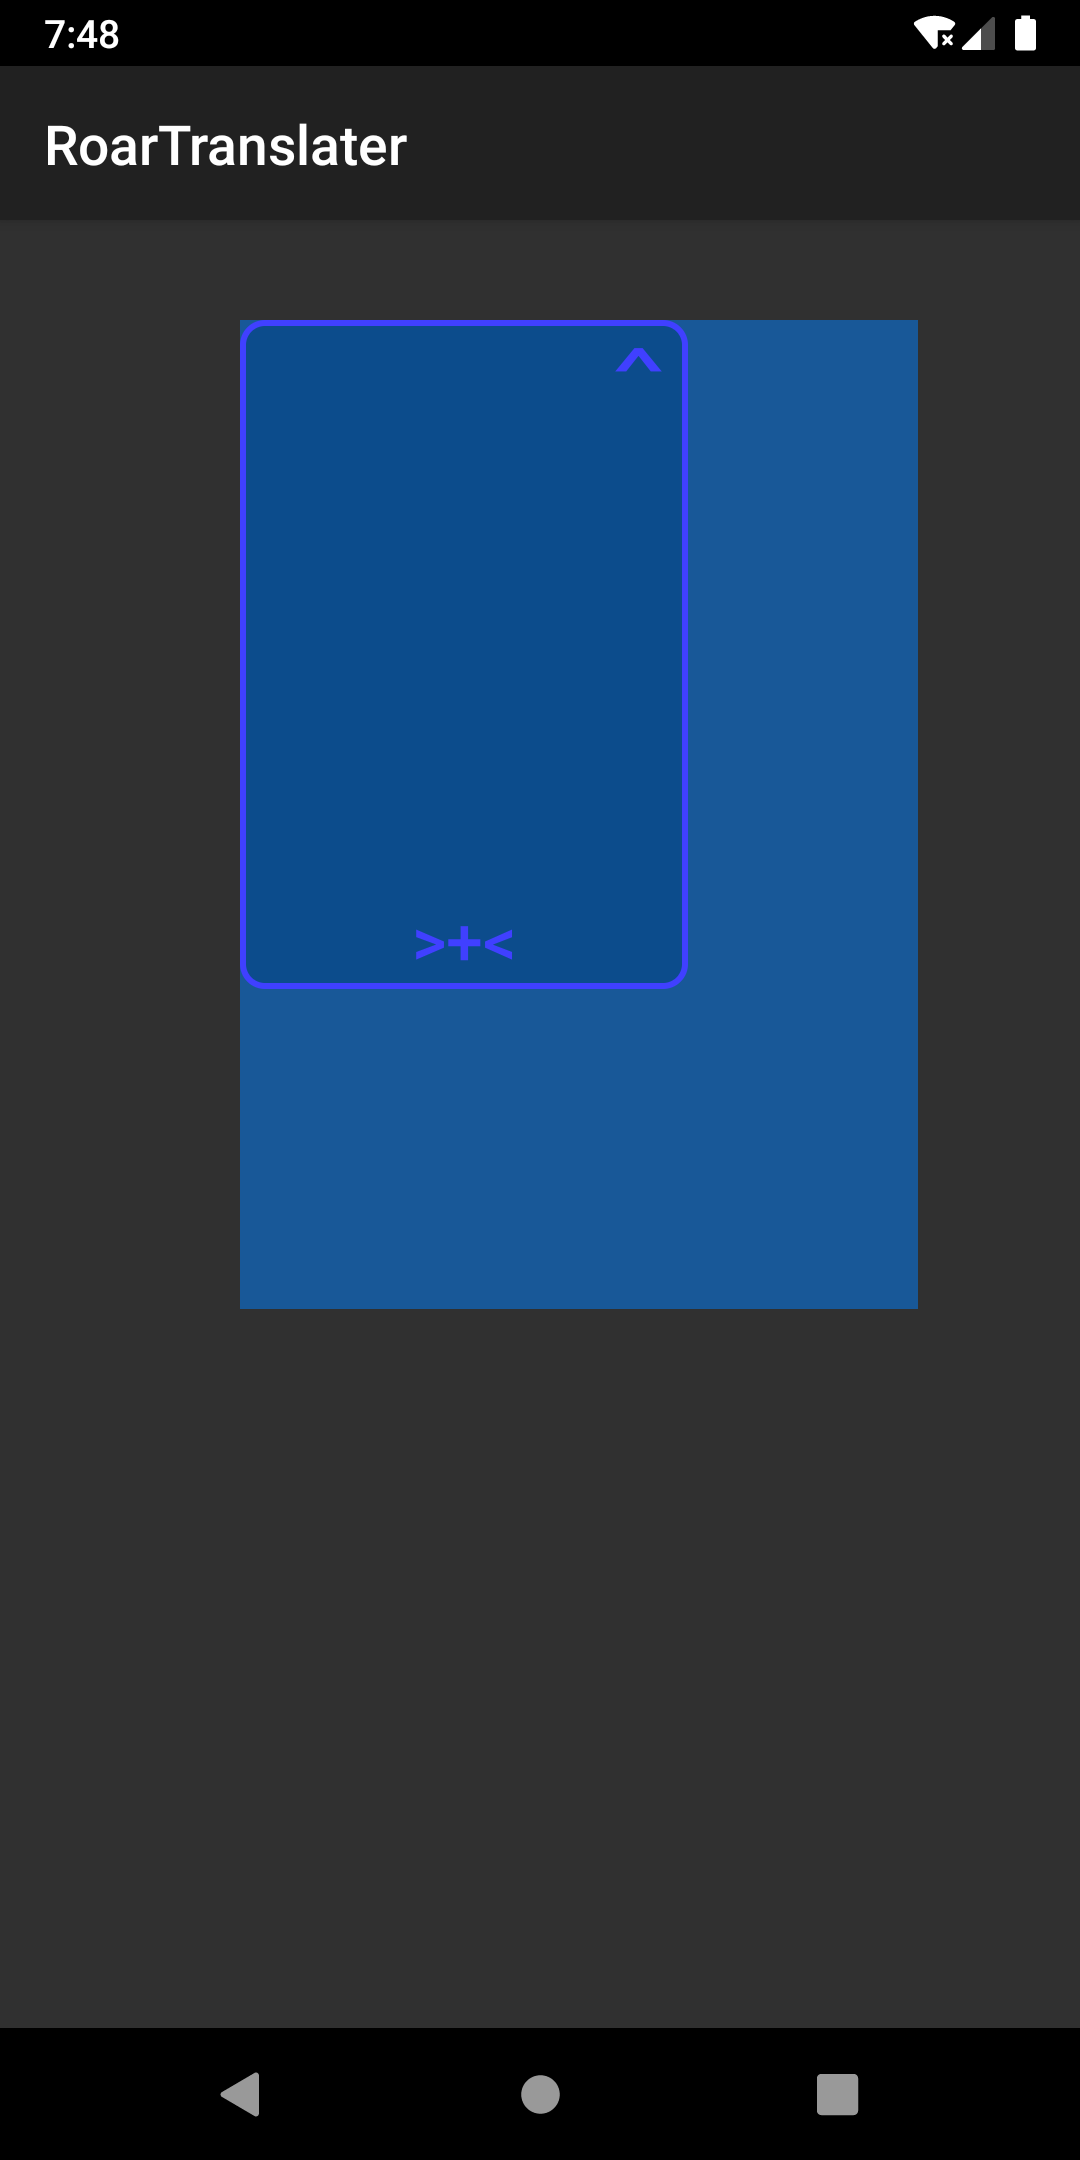
拖动事件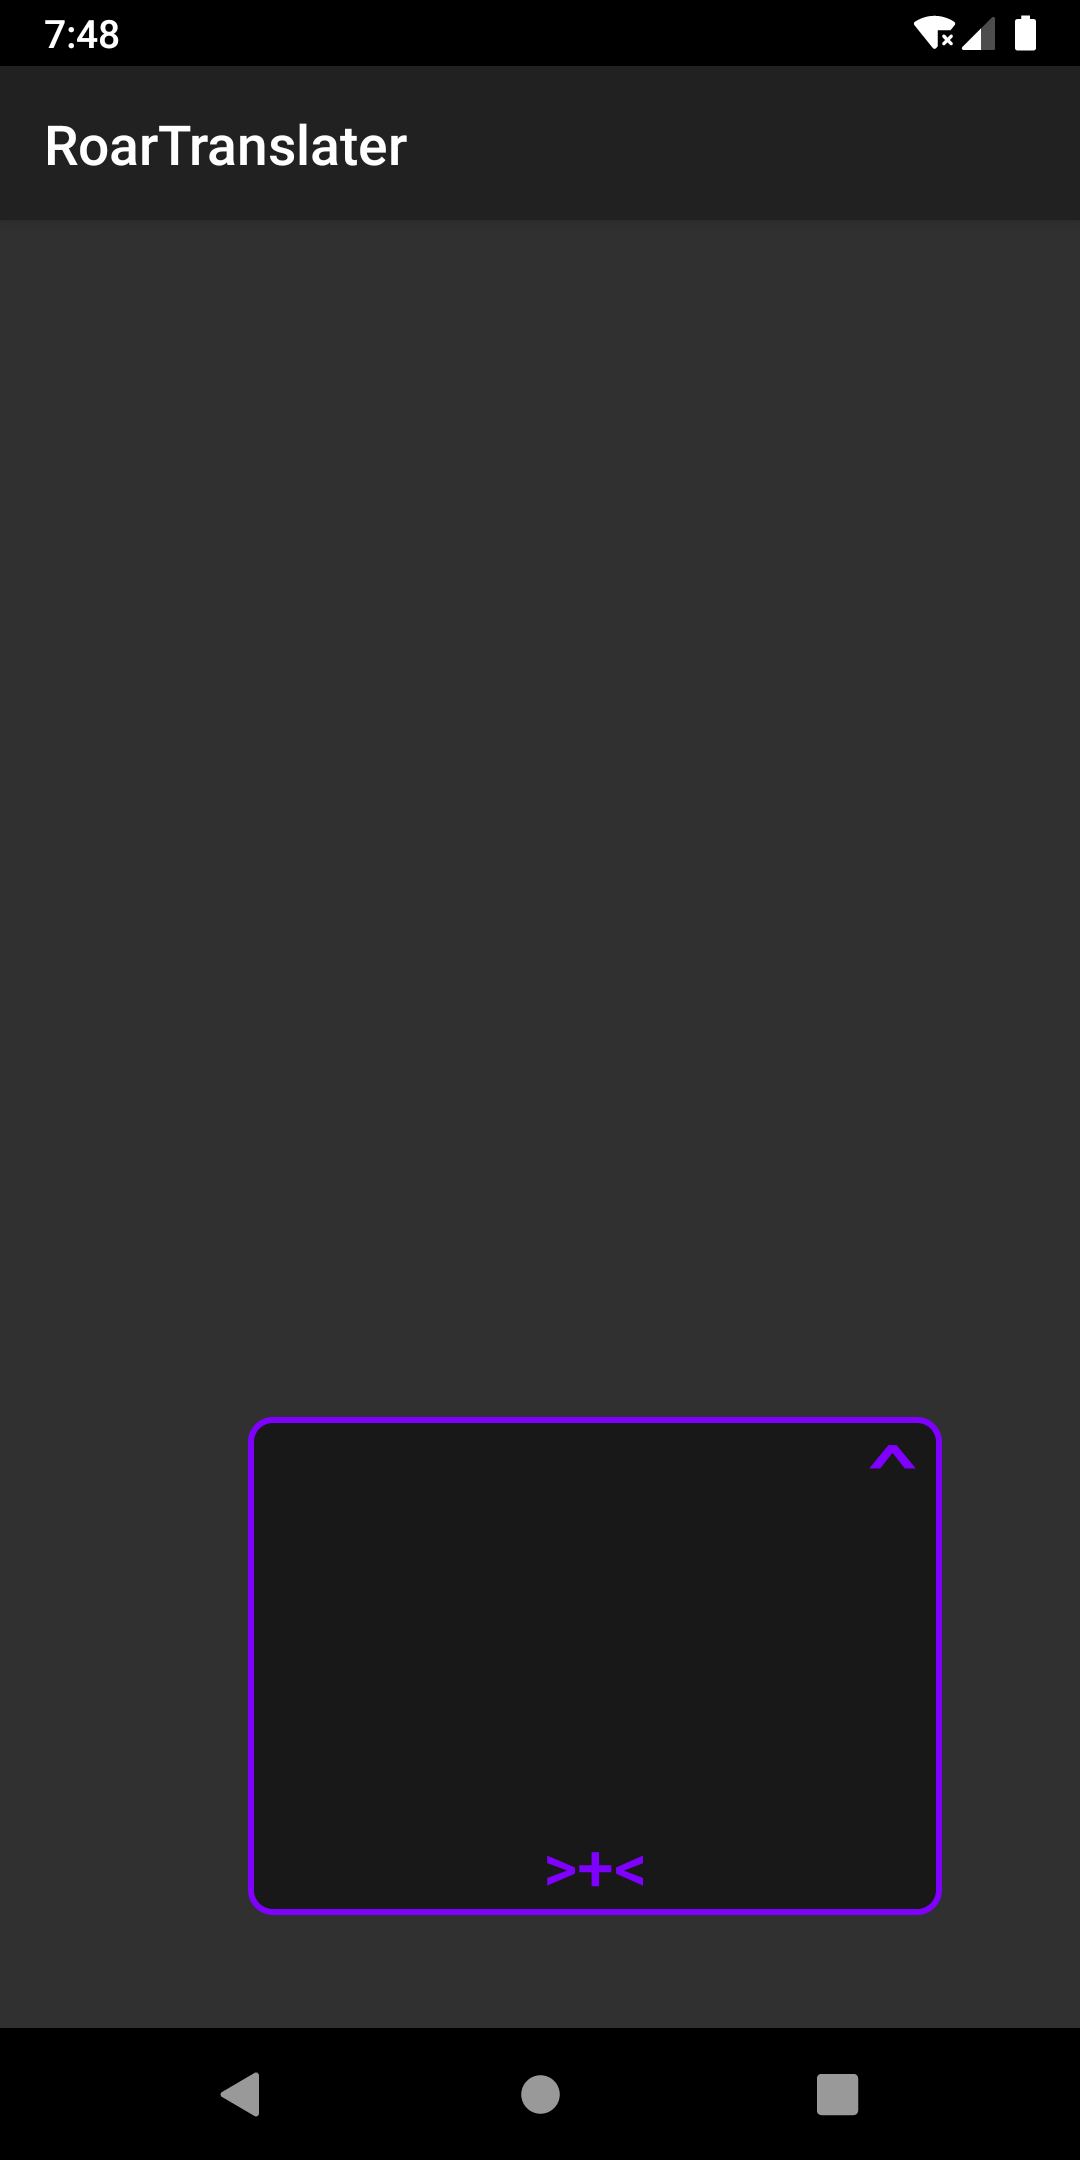
以下是封装的代码
import android.content.Context;
import android.graphics.Color;
import android.graphics.PixelFormat;
import android.os.Build;
import android.util.DisplayMetrics;
import android.util.Log;
import android.view.Gravity;
import android.view.LayoutInflater;
import android.view.MotionEvent;
import android.view.View;
import android.view.WindowManager;
import android.widget.FrameLayout;


/*
 * Manage the float windows easily
 * Make the window looks like the window on Windows  :p
 * Created by Dreagonmon on 2017/1/15.
 * 记得先申请悬浮窗权限!如果只想用APPLICATION层面的窗口,请修改DEFAULT_WINDOW_TYPE
 */

public class FloatWindow
{
    public final int DEFAULT_WINDOW_TYPE;
    public final int scrWidth;
    public final int scrHeight;
    public int minWidth;
    public int maxWidth;
    public int minHeight;
    public int maxHeight;
    private final WindowManager wm;
    private final Context context;
    private boolean isShowing = false;
    private View view;//内容对象
    private View window;//窗口对象
    private WindowManager.LayoutParams lp;
    private TouchListenerMove listenerMove = new TouchListenerMove();
    private TouchListenerResize listenerResize = new TouchListenerResize();
    private Runnable onPressAction;//点击事件
    public FloatWindow(Context context)
    {
        if (Build.VERSION.SDK_INT >= Build.VERSION_CODES.O) {
            DEFAULT_WINDOW_TYPE = WindowManager.LayoutParams.TYPE_APPLICATION_OVERLAY;
        }else{
            DEFAULT_WINDOW_TYPE = WindowManager.LayoutParams.TYPE_PHONE;
        }
        this.wm = (WindowManager) context.getSystemService(Context.WINDOW_SERVICE);
        this.context = context;
        DisplayMetrics DM = new DisplayMetrics();
        wm.getDefaultDisplay().getMetrics(DM);
        maxWidth = scrWidth = DM.widthPixels;
        maxHeight = scrHeight = DM.heightPixels;
        minWidth = 0;
        minHeight = 0;
        readyLp();
    }

    public FloatWindow(Context context,View view)
    {
        this(context);
        this.setView(view);
    }
    private void readyLp()
    {
        lp = new WindowManager.LayoutParams();
        lp.type = DEFAULT_WINDOW_TYPE;//悬浮窗口类型,记得给予权限
        //背景可点击,保持在屏幕内
        lp.flags = WindowManager.LayoutParams.FLAG_NOT_TOUCH_MODAL
                |WindowManager.LayoutParams.FLAG_LAYOUT_IN_SCREEN
                |WindowManager.LayoutParams.FLAG_NOT_FOCUSABLE;
        lp.format = PixelFormat.RGBA_8888;//透明背景
        lp.gravity = Gravity.LEFT|Gravity.TOP;//重力左上角,方便调整大小
        lp.width = scrWidth;
        lp.height = scrHeight;
        lp.x = 0;
        lp.y = 0;
    }


    /*内部元素操作类方法*/
    /*
    * setWindow()与setView()的区别:
    * 一个会自动包裹进窗口内部,一个就是单纯的传入视图
    * 当使用了setView的时候,getWindow()与getView()效果一样,
    * 当使用了setWindow的时候,getWindow()返回窗口整体,getView()返回之前包裹的视图,*/
    public View setWindow(int styleLayoutID,int containerID, View v)
    {
        /*主要内容容器
        * 自定义layout布局,为styleLayoutID所指定的布局
        * 最后自由添加内容的FrameLayout容器的ID为window_container*/
        if (window == null||window.getId()!=styleLayoutID)
        {
            window = LayoutInflater.from(context).inflate(styleLayoutID,null);
        }
        FrameLayout container = (FrameLayout) window.findViewById(containerID);
        v.setLayoutParams(new FrameLayout.LayoutParams(FrameLayout.LayoutParams.MATCH_PARENT,FrameLayout.LayoutParams.MATCH_PARENT));
        container.removeAllViews();
        container.addView(v);
        this.view = v;
        return window;
    }
    public View getWindow()
    {
        return window;
    }
    public void setView(View view)
    {
        this.view = window = view;
    }
    public View getView()
    {
        return view;
    }
    public View getElementById(int ID)
    {
        return window.findViewById(ID);
    }
    public WindowManager.LayoutParams getLayoutParams()
    {
        return lp;
    }
    public void updateWindow()//配合取出的LayoutParams使用,记得改过lp之后更新窗口!
    {
        if (isShowing)
        {
            wm.updateViewLayout(window,lp);
        }
    }
    public boolean isShowing()
    {
        return isShowing;
    }


    /*窗口设置类方法*/
    /*
    * 这几个事件最好是由窗口样式中的元素来设置,这样在更改内容View之后不需要再次设置
    * OnPressAction仅作用于设置的MoveView,拖动距离不远的话算作点击,
    * 该方法的调用在主线程,不要放置网络连接等操作,如果想取消点击事件,传入null即可
    * Move和Resize被限制在屏幕之内,这是为了保证窗口的稳定
    * 移动和改变大小事件推荐设置在Button上,TextView对touch事件的触发不完整
    * 只有touch_down事件触发了回调*/
    public void setMoveView(View v)
    {
        v.setOnTouchListener(listenerMove);
    }
    public void setMoveView(int ID)
    {
        View v = window.findViewById(ID);
        if(v != null)
        {
            v.setOnTouchListener(listenerMove);
        }
    }
    public void setResizeView(View v)
    {
        v.setOnTouchListener(listenerResize);
    }
    public void setResizeView(int ID)
    {
        View v = window.findViewById(ID);
        if(v != null)
        {
            v.setOnTouchListener(listenerResize);
        }
    }
    public void setOnPressAction(Runnable run)
    {
        onPressAction = run;
    }


    /*窗口行为类方法*/
    /*记得先resize再move
    * 为了保证所有按钮可用,这里的移动和调整大小的事件被限制为在屏幕之内*/
    public void moveTo(int x,int y)
    {
        lp.x = x<0?0:(x+lp.width<=scrWidth?x:scrWidth-lp.width);
        lp.y = y<0?0:(y+lp.height<=scrHeight?y:scrHeight-lp.height);
        if (isShowing)
        wm.updateViewLayout(window,lp);
    }
    public void moveBy(float xOffset,float yOffset)
    {
        lp.x =(int) (lp.x+xOffset<0?0:(lp.x+lp.width+xOffset<=scrWidth?lp.x+xOffset:scrWidth-lp.width));
        lp.y =(int) (lp.y+yOffset<0?0:(lp.y+lp.height+yOffset<=scrHeight?lp.y+yOffset:scrHeight-lp.height));
        if (isShowing)
        wm.updateViewLayout(window,lp);
    }
    public void resizeTo(int width,int height)
    {
        lp.width = width<minWidth?minWidth:(width<=maxWidth-16?width:maxWidth);
        lp.height = height<minHeight?minHeight:(height<=maxHeight-16?height:maxHeight);
        if(isShowing)
        wm.updateViewLayout(window,lp);
    }
    public void resizeBy(float xOffset,float yOffset)
    {
        lp.width =(int) (lp.width+xOffset<minWidth?minWidth:(lp.width+xOffset<=maxWidth?lp.width+xOffset:maxWidth));
        lp.height =(int) (lp.height+yOffset<minHeight?minHeight:(lp.height+yOffset<=maxHeight?lp.height+yOffset:maxHeight));
        if (isShowing)
        wm.updateViewLayout(window,lp);
    }
    public void show()
    {
        if (!isShowing)
        {
            isShowing = true;
            wm.addView(window, lp);
        }
    }
    public void hide()
    {
        if (isShowing)
        {
            isShowing = false;
            wm.removeView(window);
        }
    }

    /*设计或许会用到的dp转px*/
    public static int dp2px(Context context, float dipValue)
    {
        final float scale = context.getResources().getDisplayMetrics().density;
        return (int)(dipValue * scale + 0.5f);
    }

    /*默认执行了移动和改变大小的点击事件后会移到最上层*/
    class TouchListenerMove implements View.OnTouchListener
    {
        float lX,lY;
        int startX,startY;
        @Override
        public boolean onTouch(View view, MotionEvent motionEvent) {
            switch (motionEvent.getAction())
            {
                case MotionEvent.ACTION_DOWN:
                    lX = motionEvent.getRawX();
                    lY = motionEvent.getRawY();
                    startX = lp.x;
                    startY = lp.y;
                    break;
                case MotionEvent.ACTION_MOVE:
                    moveBy(motionEvent.getRawX()-lX,motionEvent.getRawY()-lY);
                    lX = motionEvent.getRawX();
                    lY = motionEvent.getRawY();
                    break;
                case MotionEvent.ACTION_UP:
                    lX = lY = 0;
                    if (Math.abs(lp.x-startX)<5&&Math.abs(lp.y-startY)<5)
                    {
                        moveTo(startX,startY);
                        if (onPressAction!=null)
                        {
                            onPressAction.run();
                        }
                    }
                    //hide();
                    //show();
                    break;
            }
            return false;
        }
    }
    class TouchListenerResize implements View.OnTouchListener
    {
        View tmpView;
        WindowManager.LayoutParams tmpLp = new WindowManager.LayoutParams();
        float lX,lY;
        private void resizeTmpView(float xOffset,float yOffset)
        {
            tmpLp.width =(int) (tmpLp.width+xOffset<minWidth?minWidth:(tmpLp.width+xOffset<=maxWidth?tmpLp.width+xOffset:maxWidth));
            tmpLp.height =(int) (tmpLp.height+yOffset<minHeight?minHeight:(tmpLp.height+yOffset<=maxHeight?tmpLp.height+yOffset:maxHeight));
            if (isShowing)
                wm.updateViewLayout(tmpView,tmpLp);
        }
        @Override
        public boolean onTouch(View view, MotionEvent motionEvent) {
            switch (motionEvent.getAction())
            {
                case MotionEvent.ACTION_DOWN:
                    lX = motionEvent.getRawX();
                    lY = motionEvent.getRawY();
                    if (tmpView==null)
                    {
                        tmpView = new View(context);
                        tmpView.setBackgroundColor(Color.parseColor("#800080FF"));
                    }
                    tmpLp.x = lp.x;
                    tmpLp.y = lp.y;
                    tmpLp.width = lp.width;
                    tmpLp.height = lp.height;
                    tmpLp.type = lp.type;
                    tmpLp.flags = lp.flags;
                    tmpLp.format = lp.format;
                    tmpLp.gravity = lp.gravity;
                    wm.addView(tmpView,tmpLp);
                    break;
                case MotionEvent.ACTION_MOVE:
                    resizeTmpView(motionEvent.getRawX()-lX,motionEvent.getRawY()-lY);
                    lX = motionEvent.getRawX();
                    lY = motionEvent.getRawY();
                    break;
                case MotionEvent.ACTION_UP:
                    lX = lY = 0;
                    resizeTo(tmpLp.width,tmpLp.height);
                    wm.removeView(tmpView);
                    //hide();
                    //show();
                    break;
            }
            return false;
        }
    }
}
以下是使用的代码
FloatWindow fw = new FloatWindow(this);
fw.setWindow(R.layout.float_window_frame,R.id.window_container,new TextView(this));
fw.setMoveView(R.id.window_move);
fw.setResizeView(R.id.window_resize);
fw.minWidth = fw.minHeight = 320;
fw.resizeTo(480,640);
fw.moveTo(240,320);
fw.show();